Let’s Build This Together!
June 28th, 2025 By: Ashley
My Garage Confession: How I’m Tackling the Chaos One Box at a Time
Let’s Begin!
My Garage Confession: How I’m Tackling the Chaos One Box at a Time
Honestly, if you take one glance at my garage, I am very embarrassed by what it has become. We have so many things in there—and this is even after cleaning it out! We had a garage sale, which definitely helped eliminate some items, but I still found myself lost in a pile of… I don’t even know what.
Yes, I organized some of the holiday stuff months ago, but that system just wasn’t working. It felt like every time I thought I was making progress, I’d find another box of randomness tucked away in a corner.
I have to admit, I watch a lot of YouTube videos and pin a ton of ideas on Pinterest. That’s what finally got me to the point where I said, “I’m doing this! I need to get my garage more organized!”
We’ve lived here for less than two years, but it looked like we were living in a space holding onto 25 years’ worth of… I don’t know—“memories?” “antiques?” Whatever you want to call it. I just called it a straight-up mess.
Why Is It So Hard to Keep the Garage Under Control?
The garage is like a black hole of household storage. It’s where things go when we don’t know where else to put them. Old toys? Garage. Broken chair we might fix someday? (True story) Garage. Extra rolls of wrapping paper? Garage. Before we know it, it’s overflowing.
For me, it wasn’t just about clutter—it was the feeling of being overwhelmed every time I stepped in there. It made me avoid the space entirely, which only made the mess worse.
My Plan to Finally Reclaim the Space
I’m determined to change that. Here’s what I’m focusing on now:
Setting a clear goal: I want the garage to be a functional space where we can find what we need and maybe even park the car someday.
Sorting and categorizing: Grouping items like tools, sports equipment, holiday decorations, and keepsakes so I can see what we actually own.
Being ruthless about what stays: If we haven’t used it since moving in, it’s time to seriously consider letting it go.
Let’s Begin!
Okay, so where to begin… well, I have a TON of totes, and they’re all the same type—the black and yellow ones from Costco or Sam’s Club. We do have different sizes, but I’ll get into more of that later.
Let’s start talking about designing, building, and organizing.
Where to begin? Well, that’s an easy one… your local Home Depot or Lowe’s! 😂 You’ll need some supplies, and if you’re like me and don’t have all the fancy woodworking equipment and machinery, that’s okay! You can still create a masterpiece, and I promise it’s not as intimidating as it looks. I’ll be here for you every step of the way, so don’t worry! I’ll also be posting a video on YouTube, so if you’re more of a visual person like me, that might be much more helpful.
Okay, so 2x4s will be your best friend—that’s all I used for the bones of this magical beast. Below, I’m listing all the materials I used for this project, with links to make your shopping easier:
~ 2x4x8 Pine Wood(We bought 23 pieces, but this can vary depending on your desired height.)
~ 1×2 x8 Pine Wood (We bought 3, but this is up to you.)
~ Miter Saw or Circular Saw
~ Kregg Pocket hole jig (optional)
~ Kregg Pocket hole screws (optional)

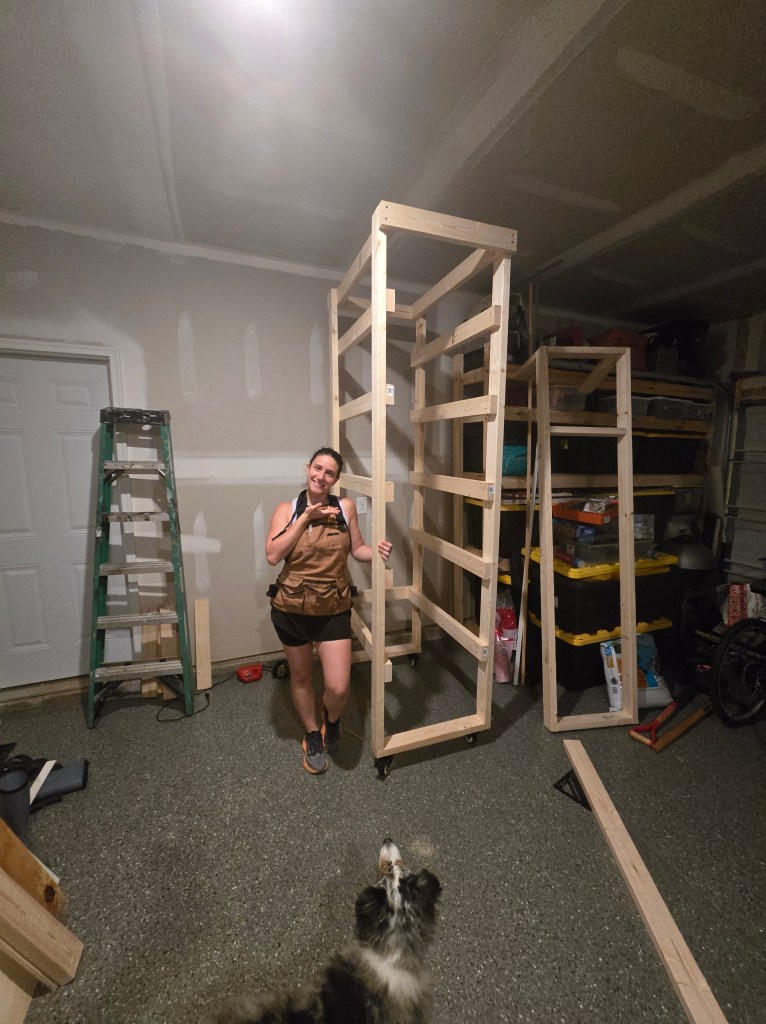
First, lay your two 2x4s (96” pine boards) flat on the floor. We did not cut these boards because we wanted the structure to be tall. *Note: This design is for the 27 & 40 gallon totes.*
Note: If you use 3” wheels, remember to add their height to your total: 96” + 3” = 99” overall height.
Next, you’ll need to make some wood cuts—unless you’re more prepared than we were and have already cut everything according to the precut list (highly recommended!).
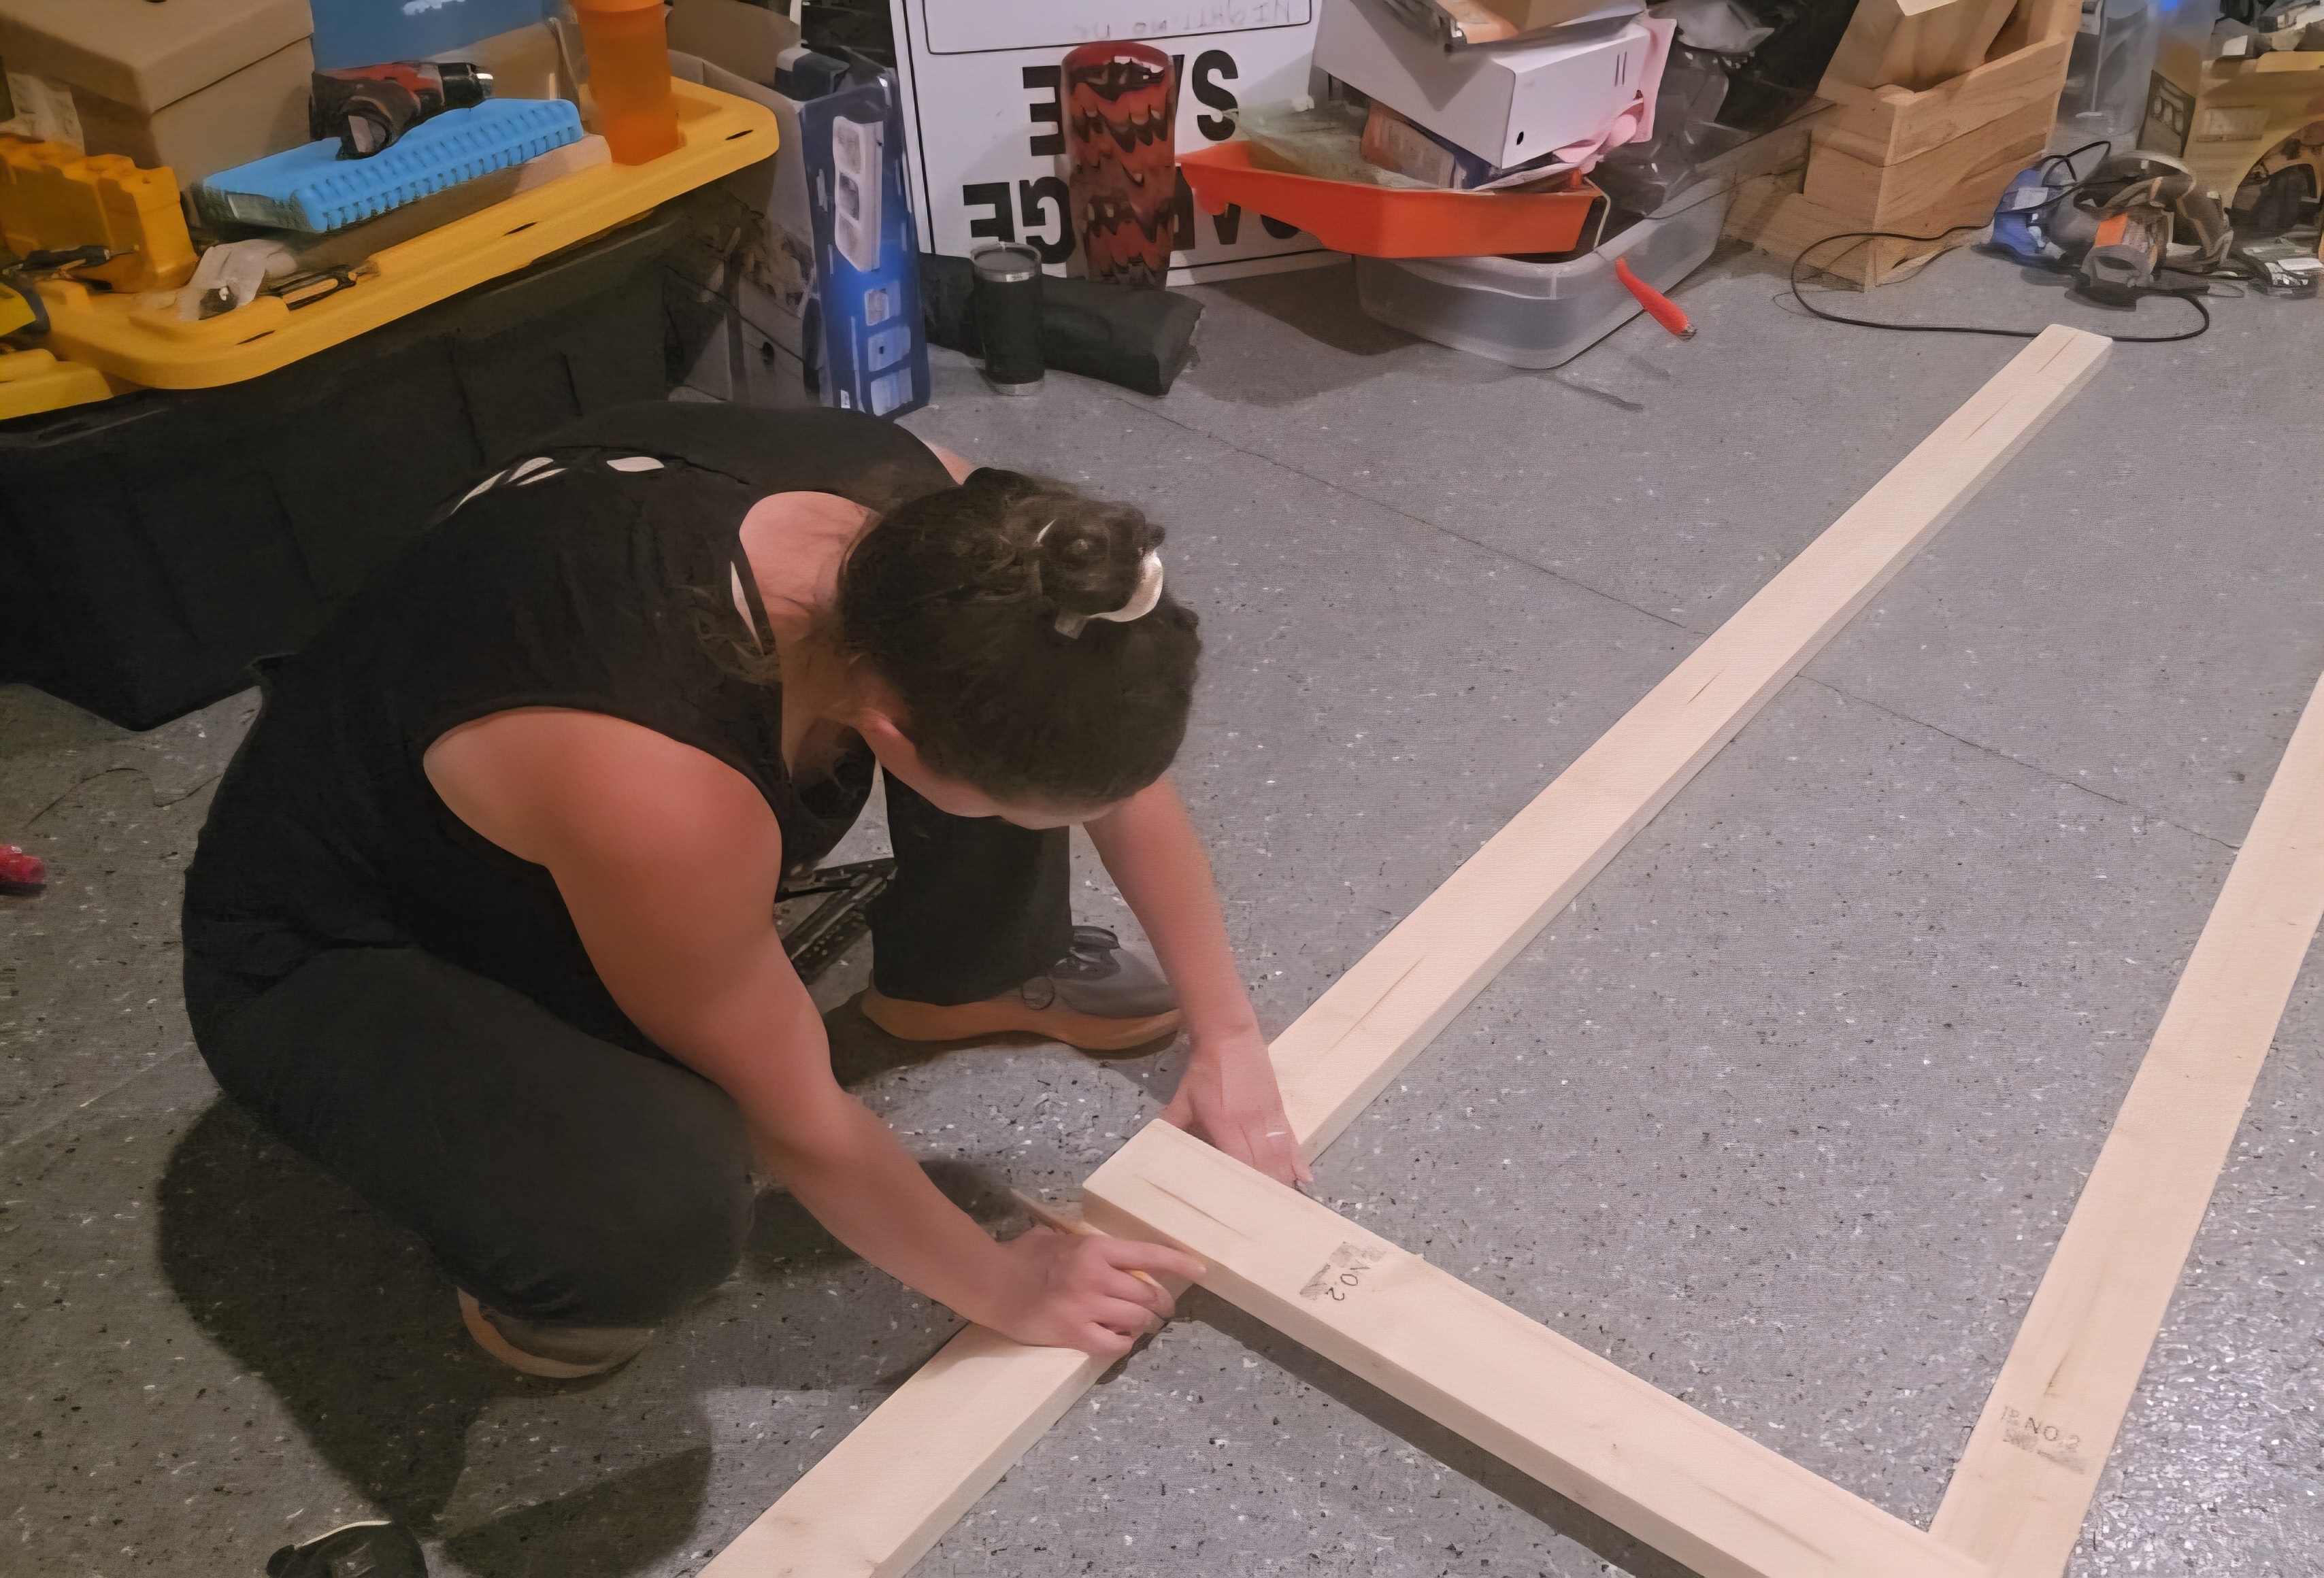
We took our 40” cuts and attached them horizontally between the two 96” 2x4s using 2½” screws. We used two screws on each end of every 46” piece, for a total of four screws per piece.
Placement details:
• The first (bottom) row of 40” boards should be attached 15” above the bottom ends of the 96” 2x4s.
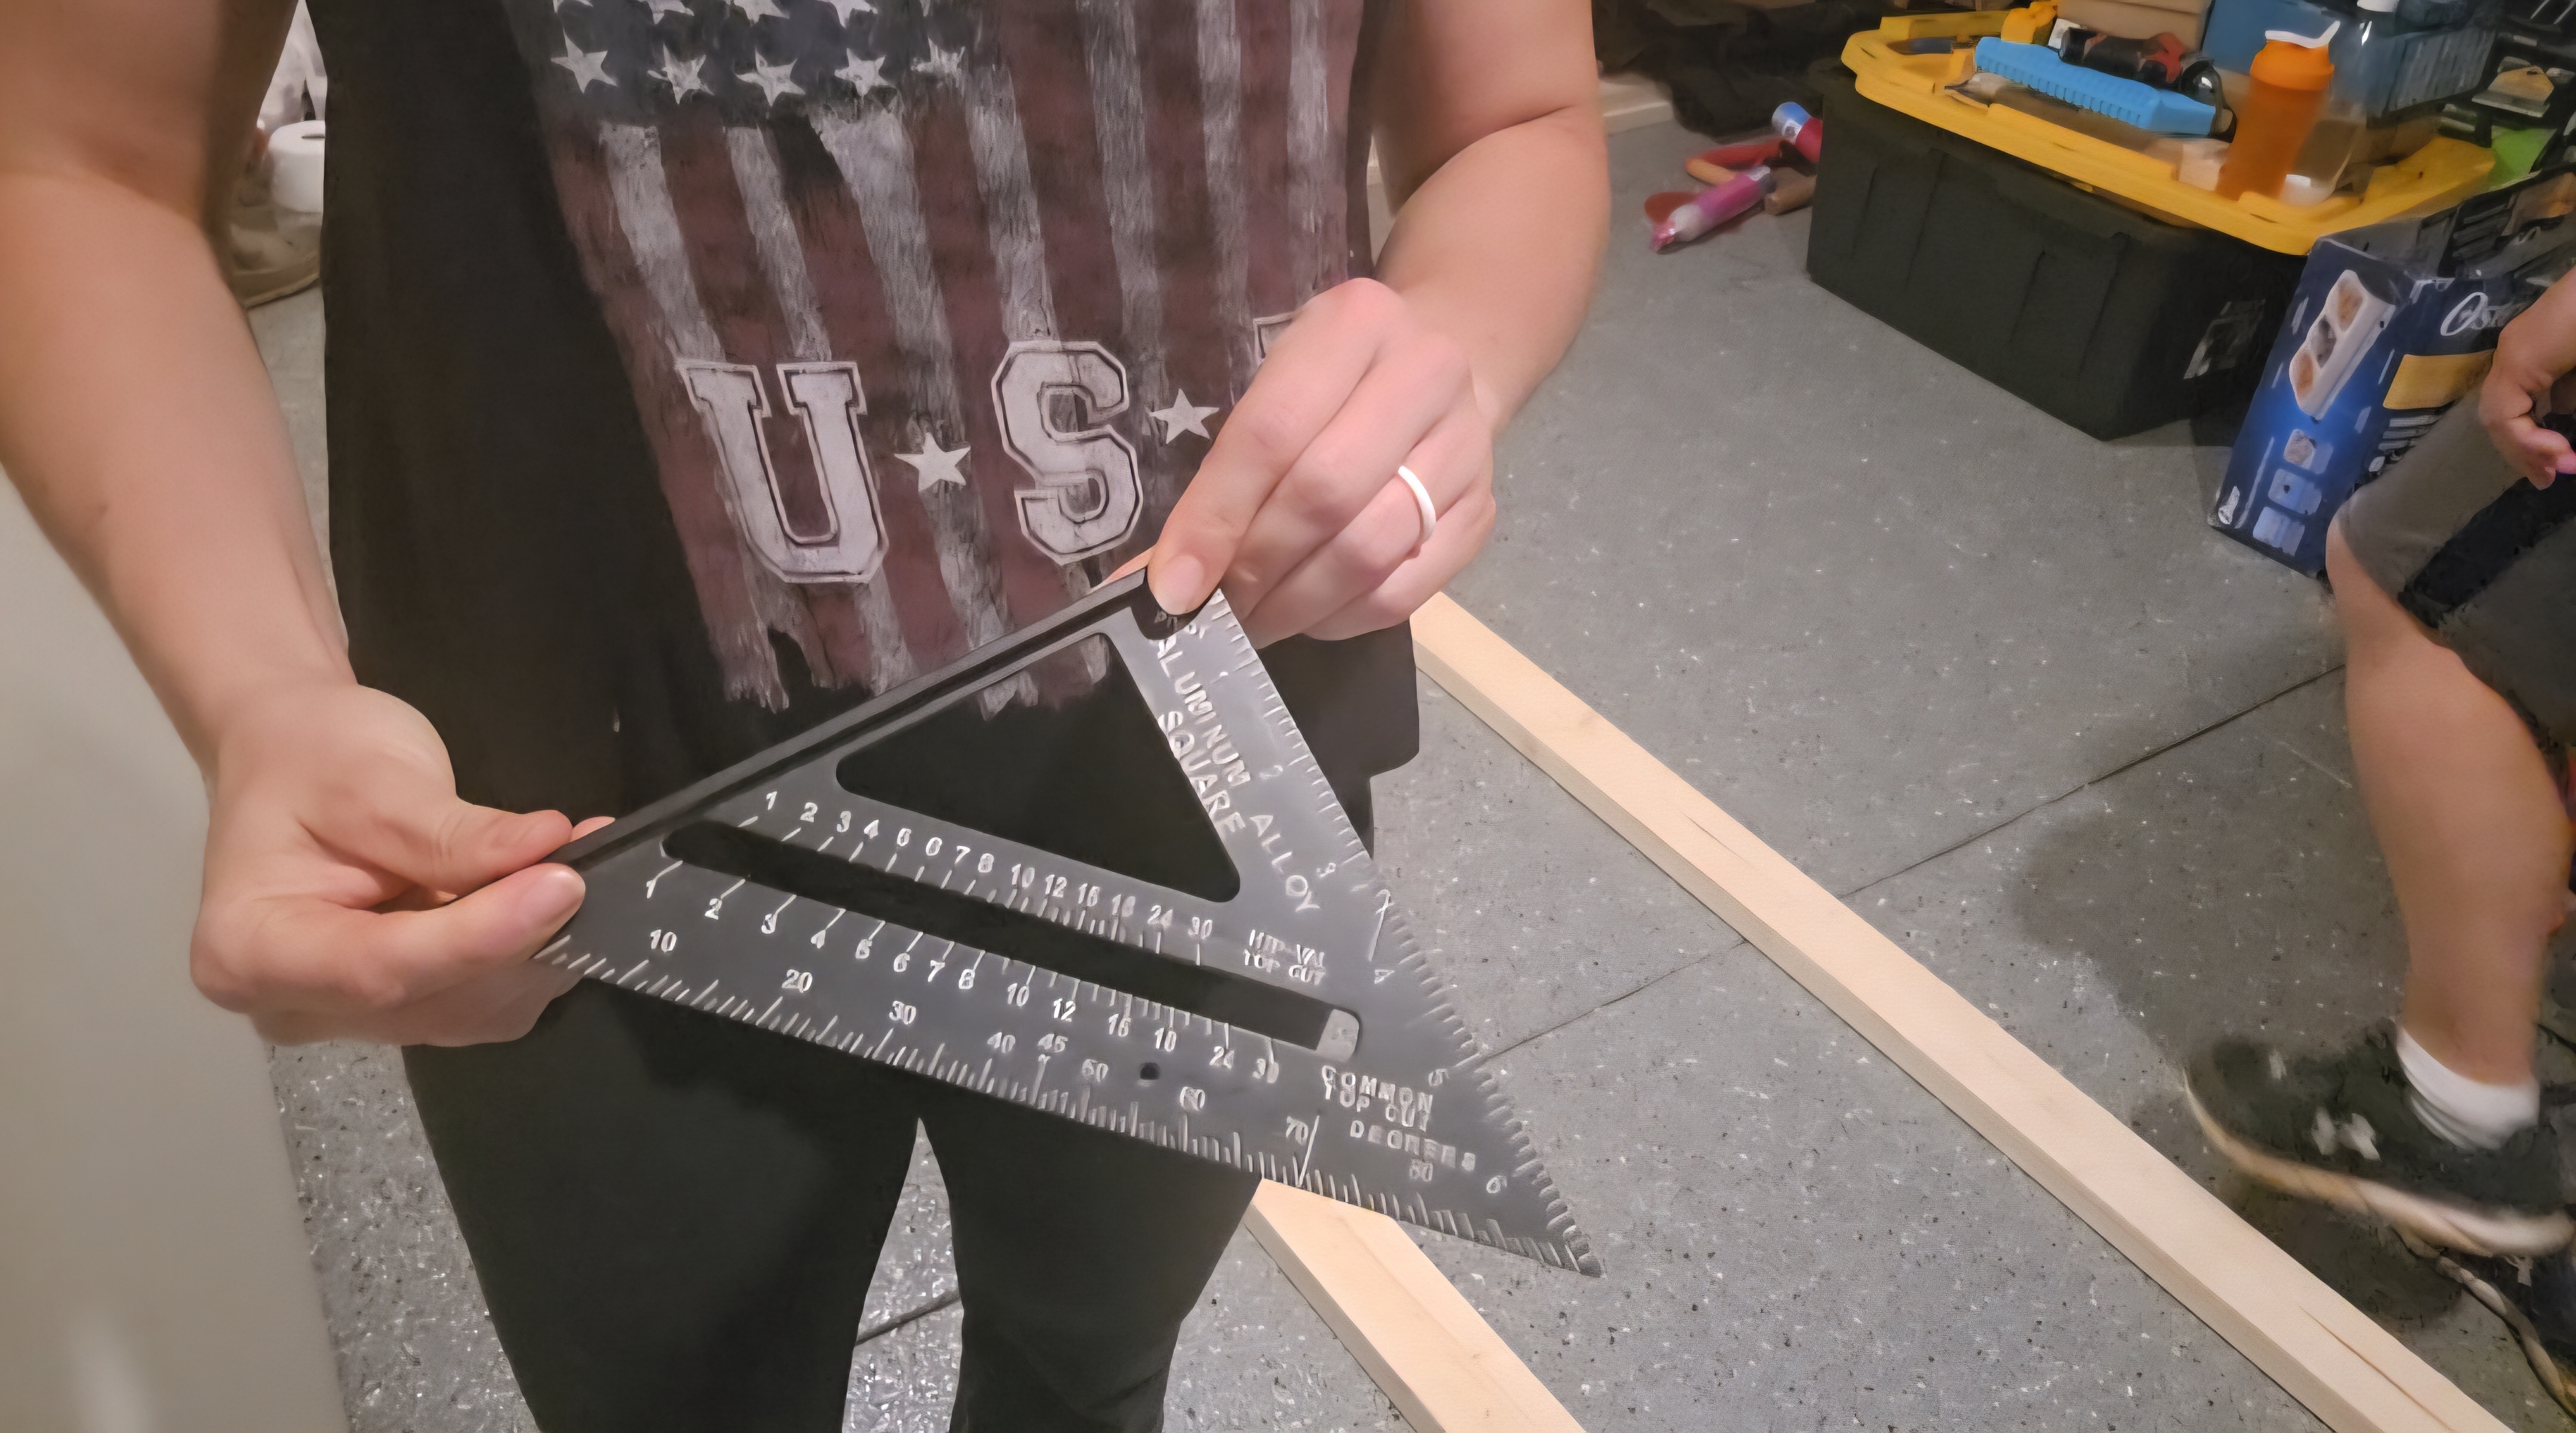
• I used a square to mark a straight line, which showed me exactly where the bottom of my row should be.

• After screwing in the first (bottom) row, we highly advise attaching the top row next. (See below.) This is because wood can sometimes shift or be warped, which can cause things to become uneven if you start at the bottom and work your way up. By securing the top row early, you help keep the structure square and straight, ensuring all rows stay aligned for a level, sturdy shelf.
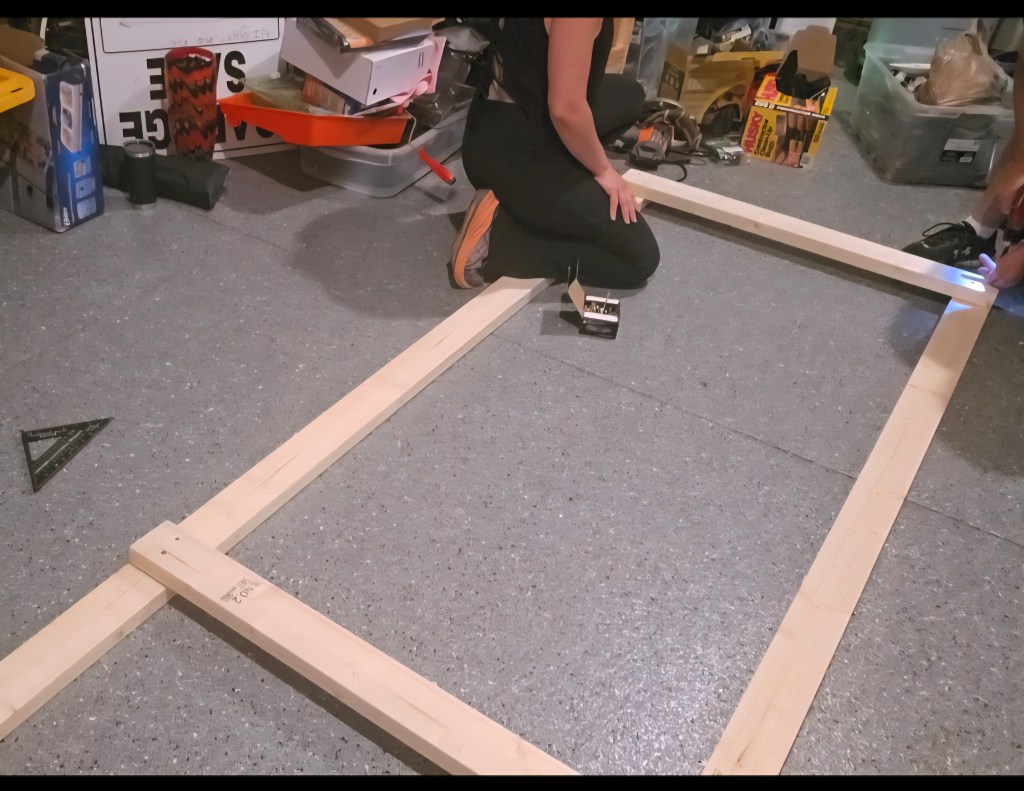
• Each additional row should then be spaced 15” apart from the previous one.
• We were able to fit a total of 5 rows with this spacing on our 96” boards.
Make a Duplicate
• To make our lives easier, my husband and I placed the next 96” 2×4 on top of the one we had just finished. We aligned it carefully, marking the 40” rows so both pieces would be identical.
This honestly saved us a lot of time and energy, since we didn’t have to re-measure everything. But if you feel more comfortable measuring each piece individually, I fully support your decision! We were just hot, exhausted, and the humidity in the garage didn’t help our patience. 😂
With all the drilling and cutting, my little munchkin needed to protect his ears. I know how hard loud noises can be on them, but he refused to stay inside the house. Meet Rudolph!


Now that we had our two sides, we needed to make sure each row was straight. We used a level to ensure everything was lined up. Don’t stress if you notice some of your rows aren’t perfectly straight—it happened to us, too! But it’s an easy fix: stand the pieces up and unscrew one of the sides so you can adjust them until they’re straight. Honestly, we had to do this for two or three rows, but that’s okay—better safe than sorry!

Attach Them Together
Now we needed to attach our two pieces together—this is where the 25 1/2” pieces come into play.
However, first, the best practice (in my opinion) is to make some pocket holes. This type of installation has been the most secure and reliable method I’ve used, so I try to include pocket holes in every project. It’s super important to note that the pocket holes should be made on the outside of the 96” 2×4 bottom. If you make them on the inside, they won’t secure the pieces together properly. (I only know this because I made this mistake.) *Make sure your pocket hole jig is lined up for the 1.5 setting for 2x4s since 2×4 are usually 1.5″ deep.* However, if you do not have the pocket hole jig, you can use the 2 1/2″ wood screws and screw the wood pieces together at its base.

This is where my husband came in as a huge help. He was able to hold the two sides steady while I placed them on top of the 25 1/2” wood pieces. This allowed me to align everything and screw in the pocket hole screws.

Next, we flipped the entire piece over and connected the top with the 25 1/2” wood pieces as well. This is where we used the 3″ in wood screws, only because the screws were going into the longer side the 2×4, so it would provide more support. We screwed the wheels to the bottom, and with that, our final project was complete!


Side note: If you want to build these for 27-gallon totes, you can keep the same measurements, but screw the 1x2s on top of the 40” 2x4s (see below). This will allow the top of the 27-gallon tote to sit level on the extended rows. You can see an example of this with the top totes on the second row (above picture).

Cut List:
Click here for the full cut list! Happy building!

